Jewellery Box kit is aimed at children between the ages of 5 and 12 and is a great way for them to be creative while also using valuable skills such as measuring, sorting sizes and shapes and hand eye co-ordination. For children up to the age of 7 this is an activity they would do with adult assistance, where as older children may want to take on the project independently. Elizabeth is almost 5 and was very excited about working on this together.
In the box you have everything you need:
- 29 pre-cut smooth edged wooden pieces
- 5 colored paint pots
- 1 tube of glue
- 1 tube of glitter glue
- 15 rhinestones
- 1 double ended paintbrush
- 1 sticker sheet
- Stencil
- Step by Step instructions with pictures
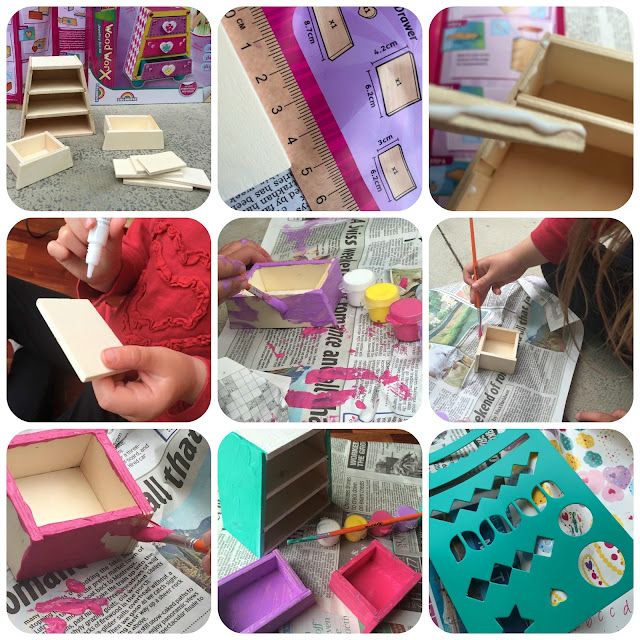
We got all the pieces out of the box and as suggested on the instructions, we began to measure up the wooden sections using the handy ruler printed at the bottom of the instruction sheet, creating piles for each drawer. Elizabeth proudly did the measuring all by herself and really enjoyed it.
Next, it was time to start gluing the sections together. I was impressed with how clear the instructions were to follow even for a child, providing step by step images and clearly worded hints and tips, although one thing they didn't dictate was how much glue to use. I fear my daughter may have been a little generous when squeezing this out as the tube ran out before we had completed the final drawer. We were able to use a tube of pva glue we had in the craft box but I would recommend dotting the glue onto the wooden pieces rather that squeezing out continuous lines like we did.
Once all the pieces were glued together we left them outside for a while to dry out and had some lunch. When we returned around an hour later both the chest and the drawers were solid and ready to paint. This part I left to Elizabeth as she had a clear idea of what colours she wanted where!
The paint provided was in a selection of colours that complemented each other well and the size of the pots were plenty big enough as long as you didn't want to paint the whole thing in one solid colour!
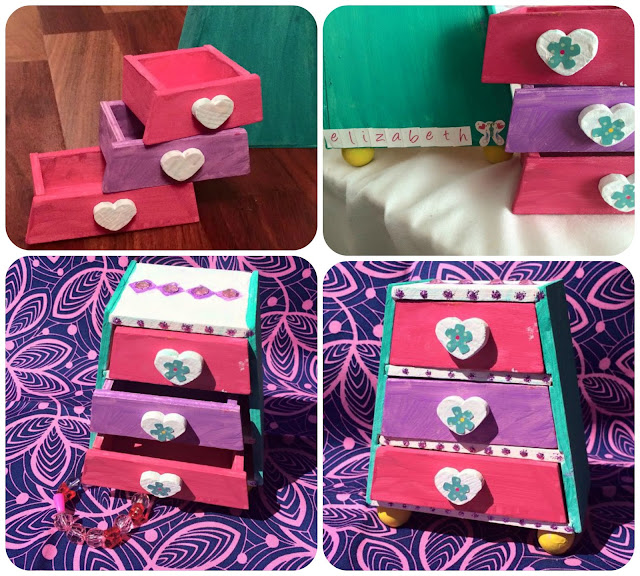
Once the paint was dry we glued on the heart shaped handles and spherical feet. Now at this point I thought the Jewellery box looked gorgeous and would happily had it on my bedside table. However little girls (well my little girl, at least!) like sparkle and glitter and lots of stickers! Luckily the Wood Worx kit provided all of this, so she got to work decorating the box, using stickers to display her name on the back, stencils to create a pattern on the top, and rhinestones and glitter glue to add that extra sparkle!
The finished article not only looks great but is a really sweet functioning jewellery box for her to store her pretty beads and bracelets in. The bottom drawer is a little stiff but other than that the drawers slide out easily and the construction as a whole is really sturdy. I am really impressed with what my daughter ad I were able to create together in a day and it has given us both a lovely sense of accomplishment!
All in all, the activity took us about four hours but that included breaks for the glue and the paint to dry. It was a lovely way to spend our day and I think the kit is great value at an RRP of just £9.99 providing everything you need (as long as you're not too eager with the glue!) The Wood Worx Jewellery Box sets can be purchased directly from Interplay or from Amazon .
.
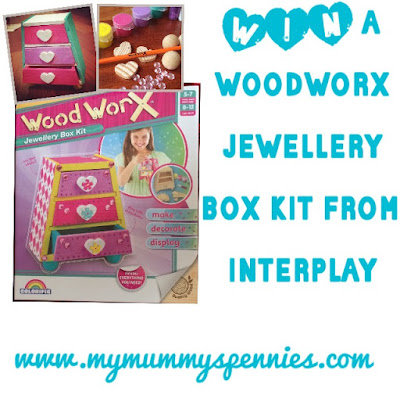
I also have a Wood Worx Jewellery Box kit to give away to one of my lovely readers! Just Follow the instructions in the rafflecopter widget below to enter:
If you are feeling lucky why not pop over to Interplay's Twitter page to enter to win the Wood Worx kit of your choice or visit The Brick Castle who are giving away a T-Rex kit...
Good Luck!
We were sent this product for the purpose of review, all thoughts and opinions are our own, post contains an affiliate link.


